Table of Contents
Render Photo
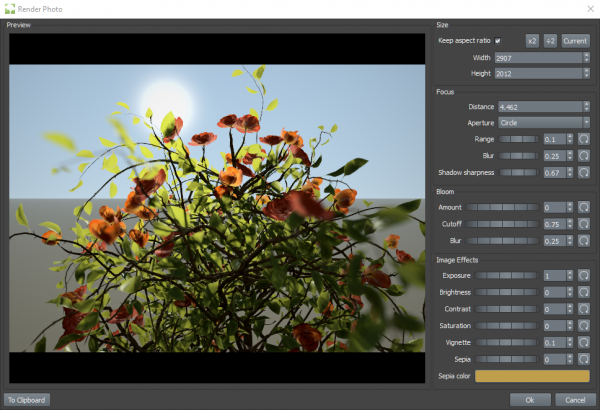
Render Photo allows you to create very high-quality images of your tree by rendering with depth of field (DOF), bloom, exposure, and various image enhancements. You can save these to files, or use the “To Clipboard” button to put the final image right in the clipboard for pasting elsewhere.
Size
These controls allow you to set the size of the final rendered image. The “x2” and “÷2” buttons are quick ways to scale the image by 2 and one-half, respectively. The Current button will reset the width and height to the current size of the Tree Window.
Keep aspect ratio
When enabled, any changes to width and height will maintain the original ratio between them.
Width/Height
These options set the size of the final rendered image.
Focus
Distance
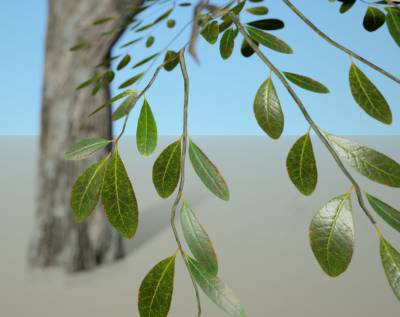
This option sets the distance where the lens will be focused and is used to simulate a depth of field effect: The farther away something is from this distance, the blurrier it will become, whether it is nearer to or farther from the camera.
You can also set the focus distance by clicking in the preview window. Whatever you click on will become the subject that is in focus.
Aperture
The way things are blurred is influenced by the shape of the aperture on the camera lens. A circle shape is basically a “perfect” aperture, while other shapes can be used for effect.
Note: When a bright light is out of focus, you may actually see the shape of the aperture in the image. This effect is called “bokeh.”
Range
You can adjust the range in which things are in focus with this option. A value of 1 will make the entire tree in focus, and 0 will be an extremely tight range around the focus distance.
Blur
This option sets the maximum amount of blur on something that is very out of focus. More blur can exaggerate the depth of field effects, but will also take longer to render.
Shadow Sharpness
Similar to how the tree can be in or out of focus, this property controls the focusing of the shadows. The further a shadow is away from the thing that casts it, the blurrier it can become. A value of 1 will cause the shadows to be fully sharp, just like in the Tree Window.
Bloom
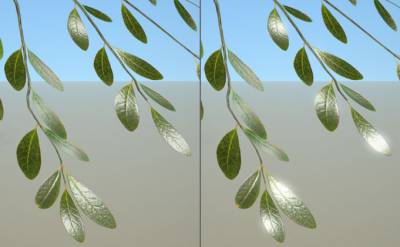
 Depth of field can cause bright light to bleed on top of surrounding darker objects. And when taking photos with a very bright light source visible (or a reflection of a bright light), the light may spread out, or “bloom” around it due to dust, smudges on the camera lens, etc. When used sparingly, bloom can add some extra realism to an image.
Amount
How much of the bloomed light to add back into the image.
Cutoff
This option sets the threshold of “bright” lights that will be bloomed. Anything below the cutoff will not bloom.
Blur
This option controls how much to blur the bright lights before adding them back into the image.
Image Effects
These effects are applied after the image has been rendered. They can do many quick edits that you would otherwise need an external image editor for, which is useful especially when you are copying the image straight to the clipboard.
Exposure
This scales the raw image data, increasing or decreasing the brightness of the whole image before tone-mapping is performed, similar to keeping a lens aperture open for a longer or shorter time.
Brightness
This option pushes the whole image brighter or darker.
Contrast
This option increases or decreases the difference between the light and dark parts of the image.
Saturation
Saturation controls how “colorful” the image is. Setting this to 0, or “desaturating” it, will make the image grayscale.
Vignette
Lenses can cause less light to reach the sides of an image, darkening them. This darkening is called a “vignette.” This option simulates that darkening.
Sepia
Some very old kinds of film used chemicals that created a desaturated, brownish image. This option can simulate that effect.
Sepia color
When using the Sepia effect, the image is pushed towards this color.

