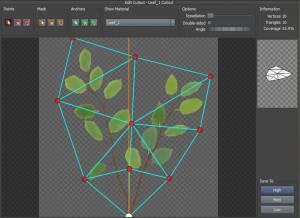
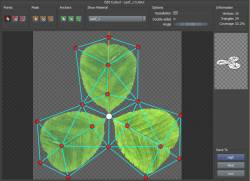
Cutout Editor
The Cutout Editor is a tool that allows you to create your own meshes for a material without having to use an outside program. In the Cutout Editor, there are many controls that can help you achieve high-detail meshes as well as optimized meshes for game assets.
You can access this editor by clicking the “Edit” button in a particular mesh asset. If you have applied a mesh to a material (or wish to create a new mesh for a particular material), you can also use the shortcut “Edit” button in that material asset.
There are three main groups of tools found at the top of the Cutout Editor: Points, Masks, and Anchors.
Points
 The Points tools allow you to add, move, and delete vertices in the mesh. Triangulation between these points is automatic. If you are editing a mesh for a material with an opacity channel, any completely transparent triangles will be removed automatically.
Add/Move
Add points by clicking in empty space. You can also move existing points by clicking/dragging them.
Remove
Delete points.
Reset
Reset the points to the default layout (a square).
Pivot Point
The pivot point is a special point in the mesh that is displayed as white. This point cannot be deleted, but it can be moved. Its position is used as the origin of the mesh.
Masks
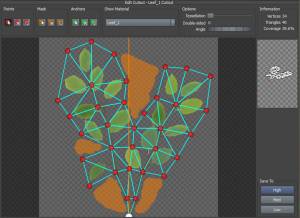
Transparent triangles will be automatically removed, but your material may not have an opacity channel. Or, you may just want to have a little more control over triangles that are removed. For this, you would paint a mask. Anywhere the mask is painted will have triangles removed.
Paint
Paint a mask.
Erase
Erase parts of the painted mask.
Reset
Reset the mask to default (empty).
Anchors
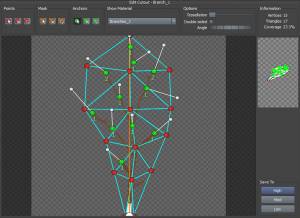
The Anchors group allows you to add/edit mesh anchor points for where children will grow.
Add/Move
Add mesh anchor points by clicking in empty space. You can also move existing points by clicking/dragging them.
Each anchor point has a white line coming from it that indicates the growth direction of anything placed there. You can drag the white dot at the end of this line to set this direction.
Remove
Delete mesh anchor points.
Reset
Reset the anchors to default (none).
Options
Show Material
This option sets the material shown in the preview and affects the aspect ratio of the mesh created (to match the material). If you edit a new cutout mesh by clicking the “Edit” button in the material asset bar, this option will already be set to the correct value.
Tessellation
If you wish to have more triangles in the mesh so it will work better for fold, curl, or other deformations, you can add them using the tessellation control. It will intelligently subdivide the existing triangles.
Double-Sided
Occasionally you will want a double-sided mesh, which can often light better on things like palm fronds. This option will duplicate the mesh and flip the new one to face the other way.
Angle
If your texture/material isn't quite aligned with the Y-axis, use this option to rotate the final mesh after creation. The new y-axis is indicated by the orange line.
Saving
Once you have created a mesh, you still need to “save” it to the mesh asset. You do this by clicking the “High,” “Med”, or “Low” buttons to store the mesh data in the corresponding mesh level. “High” is the regular place to save the mesh data, but you may want to make lower quality meshes for use with LOD or Resolution as well.


